Pages

Showing posts with label mini quilt. Show all posts

Wednesday, January 4, 2017

FO: Hexagon Wreath

Happy new year! You know, this post would have been more relevant a couple of weeks ago, but here is a Christmassy project for you.

FO: Hexagon Wreath

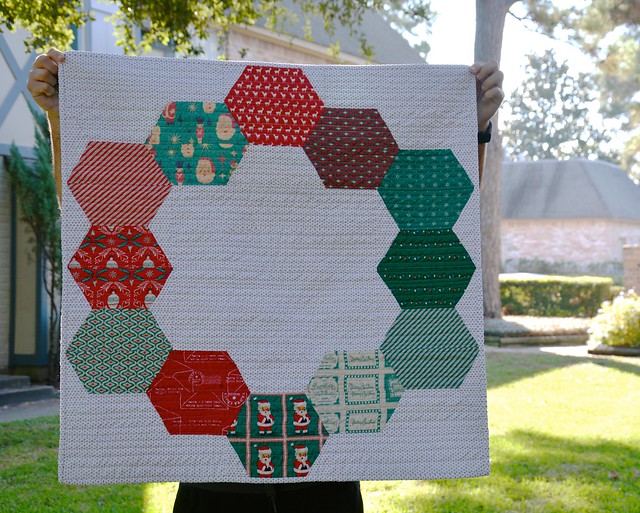
So, I intended to make this before Christmas 2015, but it never happened. I had the fabric picked out and everything. Magically, when I got to cutting in early December, it was pieced within a day or two (amazing!), quilted, bound, and ready to sparkle. I used a Spoonflower Heidi Kenny print, and a bunch of awesome OOP Cosmo Cricket Dear Mrs. Claus prints, plus a nice gold metallic dot for the background.

Decorated

I really love it, and I kind of don't want to take it down. And as you can see, I'm using my Marcelle Medallion as a tree skirt (which the cats have thoroughly enjoyed). I used Jeni's clever Color Hex pattern, and just left off the borders (it makes a pretty generous 45" square as written). I think I'll keep this pattern in mind next time I need a baby gift! Okay, time to take the tree down..

Wednesday, October 15, 2014

Colorful bits


(My kitty mini quilt, which went to Felice!)

Color makes me happy.


(My second, and only successful attempt at crochet, encouraged by Sara!)

Really. It's that simple.


(my now finished do.Good Stitches string quilt and Bella!)

Whether we're talking fabric scraps, yarny things, nature, food, whatever.


(Amsterdam blocks, from Holly's pattern, made for Maureen!)

Color is everything.

Wednesday, October 8, 2014

Kitty mini quilt swap

I never shared this, but I have been participating in a fun swap! It's the kitty mini quilt swap, hosted by Felice. I've just finished up my mini, and am sending it off to my partner. Here's a picture of the top before I quilted it:

I want to keep it, which is always a good indication of success! And check out the goods I received, from what the bobbin!

Grumpy cat mini!

She sent me an amazing grumpy cat mini, from the paper-pieced pattern by sew what sherlock, and so many fun extras! I especially adore the little pins and pincushion. Those pins!

It's been awhile since I've participated in a swap like this, but it's been really fun!

Wednesday, June 18, 2014

FO: A Study in Blue

I have been pretty obsessed with the BBC Sherlock series. I haven't finished it yet, but I've been rewatching the older episodes in preparation. Additionally, I just read "A Study in Scarlet" for the first time. It was fun to compare the episode and story as it was originally written. It popped into my brain when I was coming up with a name for this project.

I just sent Amanda her Wonky Bee swap package. A few years back, we had plans to each make this mini quilt, from the Purl Bee Golden Wreath tutorial.

Of course, we got distracted, and I sort of forgot about it. When I was planning my package for Amanda, I thought it would be a nice treat for her.

I used a variety of blues, predominately Kona Cotton, and I used a favorite light grey Alison Glass Sun Print for the background and binding. Elizabeth suggested using the same fabric for the binding and background, and I'm so glad I took her advice!

I used several blue threads to quilt it, with converging lines in the center. I chose to do this in a random way, to match the scrappy wedges.

I used one of Amanda's favorites, from Lizzy House's Constellations, for the back. Oh, and I used Jeni's machine binding tutorial. As much as I LOVE to hand bind, I chose to machine bind, since my wrist has been giving me fits lately.

Honestly, it was hard to give this one away, but I know it will have a good home with Amanda, and she deserves it.

Thursday, November 21, 2013

Mini Quilt Swap: Sent & Received

It's been a long time since I participated in a public swap. Swaps are always fun, but also challenging, especially if you don't hear much from your partner. But more often than not, it works out in the end. I find it helpful to stick to my convictions and focus on making a quality gift.

Schnitzel and Boo orchestrated this mini quilt swap.

FO

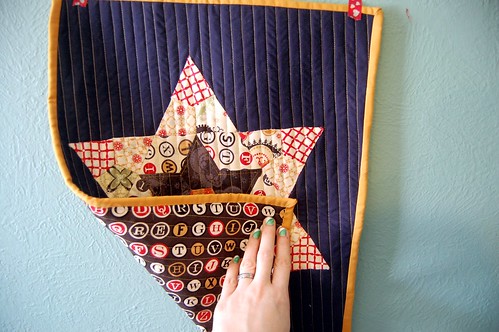
I made this little mini for my partner, babydoxie. I used a variety of colors, a block from Patchwork, Please! (the same one from this apron), and quilted it by machine and by hand.

The back

The back shows off the quilting a little better. I haven't done much hand quilting, so this was a bit of a stretch, but I am fairly pleased with how it came out. I, personally, do not like to use white sashing, but that was something my partner specifically requested.

As for what I received, I was so surprised to see a package from Tammy in my mailbox (you know, since we live in the same city, are friends, and hang out fairly regularly). She tricked me well! We even discussed the swap at Quilt Market last month.

Asterisk mini from Tammy

I just love the mini she made for me. It's got lots of my favorite elements, and will fit right in with my collection of minis.

Label

I really love the label detail, too!

I probably won't do another swap for awhile, but this was a fun one to participate in, and I met lots of new people.

Sunday, November 3, 2013

A Halloween Mini for Amy

I have lots to share with you, the first thing being this mini.

FO: Spooky mini

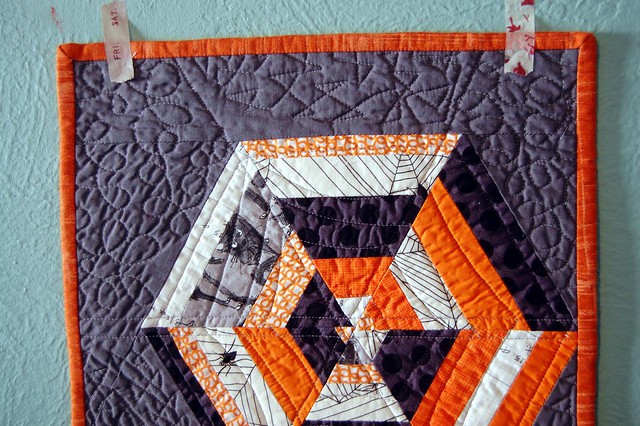
Amy is a Halloween baby, and she loves the holiday. I decided to make her a spiderweb mini quilt, as part of her gift this year.

I used my 60 degree triangle template and some fabric strips to make six triangles. I used Kona Coal to finish the top.

Free-motion details

I used straight line quilting to divide the top into sections, and then free-motion quilted squiggles and triangles. The spiderweb section is, naturally, quilted with a spiderweb.
I used orange binding to finish.

See you again later this week!

Monday, June 17, 2013

FO: Amanda's Pyrex Mini

My pal Amanda's birthday was last week. Her package from me (and also from Amy arrived just one day late.

FO: Amanda's mini

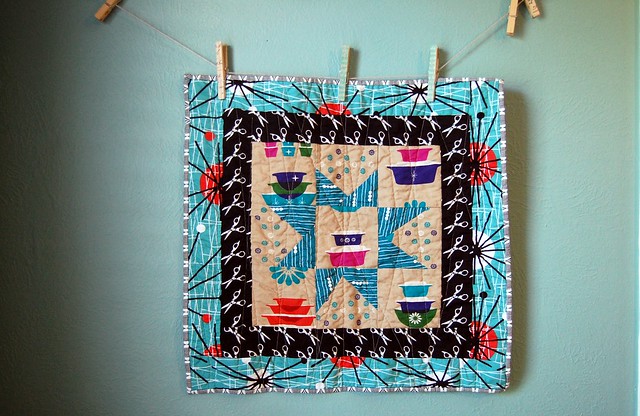
Along with some yarn, I made her this mini. The Melody Miller pyrex print is one of Amanda's favorites, and she plans to make cafe curtains for her new kitchen with it. I thought she could use a table topper (or wall hanging) that coordinates with her future curtains.

FO: Amanda's mini

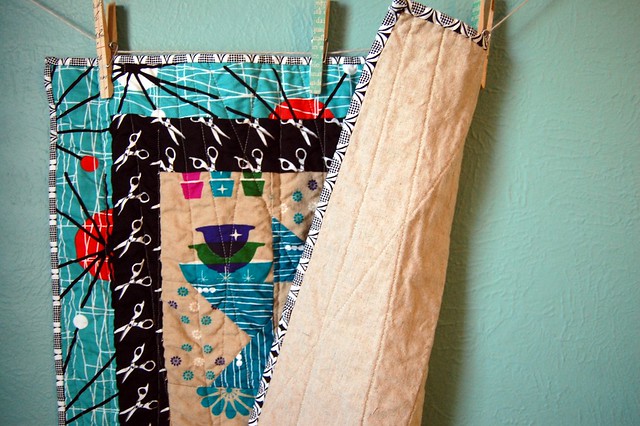
I backed the mini with Essex Linen and quilted with random vertical lines.

I tried to cut the pyrex fabric so that the blocks wouldn't be perfectly fussy-cut, but instead, they would appear as a background to the wonky star.

The mark of a good gift is not wanting to give it, and that definitely applies here.

I also sent Amanda one of these, and kept one for myself. We (along with Jeni) are planning to make the Blossom Pincushion, from I Heart Patchwork, by Rashida Coleman-Hale.

That's all for today! I wish you a happy Monday!

Wednesday, May 22, 2013

FO: Improv Berries Mini Quilt

WIPs
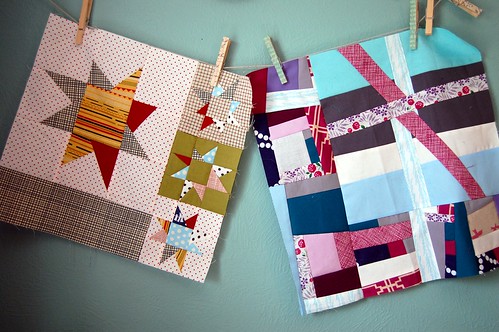
This mini quilt (right in photo) started during a skype session (seven weeks ago) with two of my favorite friends. We each worked on a brand new project during the chat.
It is always exciting to start something brand new.

I went through my solid scrap bag (an abundance), and then chose a couple of fat quarter prints to use.

I just started improv piecing, which always makes me happy. Before the end of our phone call, the top was finished.
And then, as usual, it sat for awhile. But this week, I quilted and bound it.
FO: Improv Berries Mini
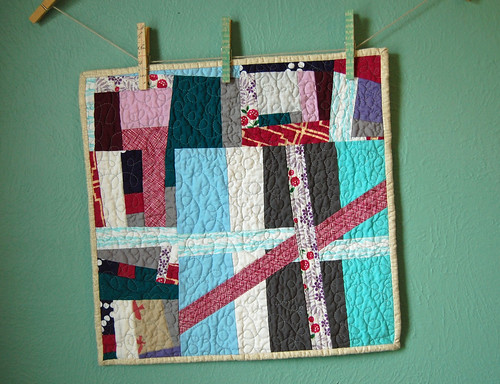
It is a tiny mini quilt, finishing at 15.5" x 15". It definitely has a springtime feel. I used a Lizzy House berry print from Hello Pilgrim on the back, and it's bound with a neutral snakeskin from Dear Stella. I did a combination of free-motion and straight line quilting.

Tuesday, March 26, 2013

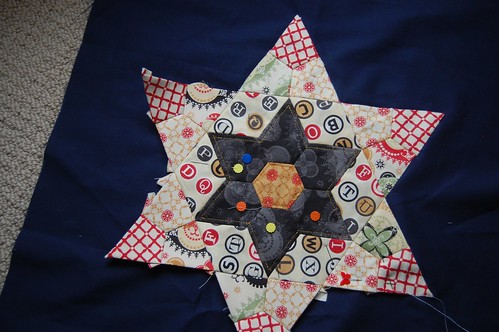
FO: Star 1934

Last July, I started this project with great momentum.

WIP: 1934 Star Blossom

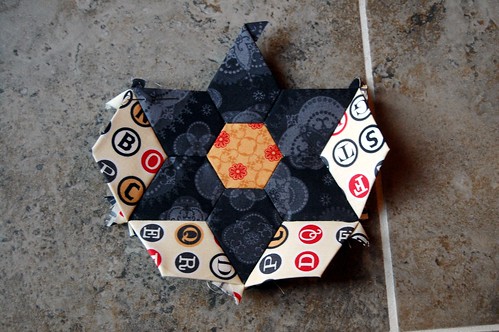
But you know how it goes. I finished the english paper piecing, and then set it aside until I figured out my background fabric.

Finally!

Fast forward to February, and I picked the background/appliqued my piecing.

I'm embarrassed by how quickly I finished the piece; I should have done it ages ago.

FO: Star 1934

It was supposed to be a birthday gift for my mom. She loved it, late or not, and I guess that's what matters.

FO: Star 1934

Details:

pattern: Modified Star Blossom from Rachel's handstitched class.
Fabric: Circa 1934 on a Kona Nightfall background, bound in Kona Ochre
Size: I forgot to measure, but we'll go with approximately 15" x 21".

I straight-line quilted after applique (partially to secure any poorly attached seams, since I am still new to the applique game) at a slight angle. I wanted to keep it, but I know my mom will give it a nice place to live in her new home.

Wednesday, February 6, 2013

A mini for Jeni

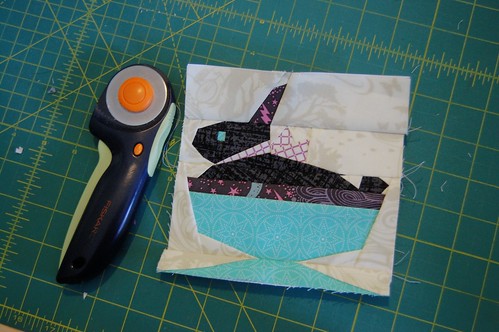
A few months back, Jeni sent me a package of fabrics. Lots of happy prints. It was so generous, and ever since then, I'd been thinking of how to reciprocate. I remembered the adorable bunny block in the Super Penguin QAL Ayumi is doing, and immediately knew it would be perfect for Jeni. Her bunny, George, is just the cutest!

Paper piecing, I love you.

I pieced the bunny in colors Jeni loves. She collects Pyrex and vintage dishes, and I thought the Maude Asbury Summer House print worked perfectly for the dish. I used a P&B Textiles print for George, and used two Tula Pink prints as well.

A mini for Jeni

I finished the block into a little mini (can't remember my dimensions, but it's smaller then 15" square). I free-motion quilted it with little loops, but didn't quilt the bunny and dish.

Jeni's fabric line, Color Me Retro is coming out very soon. Like, now!

Thursday, November 15, 2012

HCB: Happy Trees Mini Quilt

Hello, hello. I cannot believe how fast November is flying by! Here we are, nearing the end of our Holiday Craft Bash.

Today, I've got a little mini quilt tutorial for you. This little mini definitely gives me a Bob Ross vibe.

When I was planning my project for this week, I wanted to use some of the scraps generated by my Hexagon Tree Skirt.

List of materials:
fabric scraps, cut into triangle shapes
Fusible interfacing (I use Pellon SF 101)
Batting (approx. FQ size)
Fat quarter of background fabric
fat quarter of backing fabric
1/4" yard of binding fabric
small scraps for tree trunks
Basting spray I use the June Taylor brand, found at Joann) or safety pins

Directions

1) Iron interfacing to wrong side of tree and tree trunk pieces. I laid mine out on a strip and ironed all at once. Just make sure you don't iron directly on the interfacing!

2) Cut out all pieces.

3) Baste your background fabric to your batting.

4) Plan your layout. Make sure you work with at least a 2" border, and lay out the trees in a desirable fashion.
At this point, it's helpful to take a picture of your layout!

5) Pin your first tree (starting with the trunk if applicable) to the background. Using a walking foot (if you have one), topstitch the trunk and tree to the background. You can use decorative stitches if desired.

6) Continuing with the remaining tree pieces, applique your happy trees.

I went out of order with some of my trees, to create a little interest.

7)Once you have appliqued all of your trees, create a ground level with a few lines of quilting. I used brown thread for this, but feel free to use whatever feels right! You could use white for snow, perhaps. But in Texas, the ground is brown in the winter.

8) Now, we need to attach our backing fabric. Baste the back fabric to the other side of the batting.

9) Now, quilt around the trees! You could choose to quilt over them, but I like the effect of quilting around them.
I tried to create some movement with wavy lines. Have fun with this!

10) When you are satisfied with your quilting, trim your mini down to the desired size. My mini is 16" x 19". Make sure you leave at least an inch border, so your trees don't get covered up by the binding!

11) Make binding. I used 2 1/2" binding with a 3/8" seam allowance.

Apply your binding to the front of the quilt using your machine.

12)Apply your binding to the second side. I adore the hand sewing process on the second side, but you can surely apply it by machine if that's your thing!

13)Admire your forest of happy trees!

Please be sure to check out the other tutorials from this week!

Debbie and I were thinking along the same lines. Check out her Christmas Tree Farm mini!

Meredith is sharing her santa canvas (that you might recognize from our graphic!), and Jessica made a Frosty Advent Calendar! As always, if you make something from our tutorials, please add it to the Holiday Craft Bash flickr group!

We're taking a break for the Thanksgiving holiday next week, but I'll have my last installment up the following Thursday!

Wednesday, July 25, 2012

FO: Modernista Mini

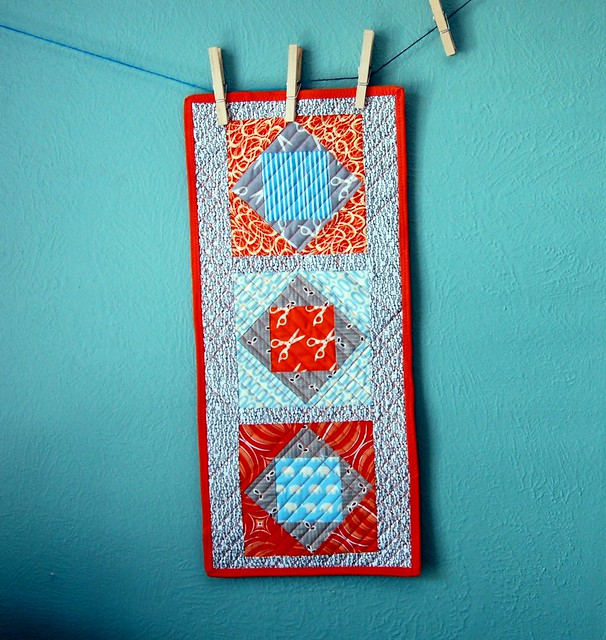
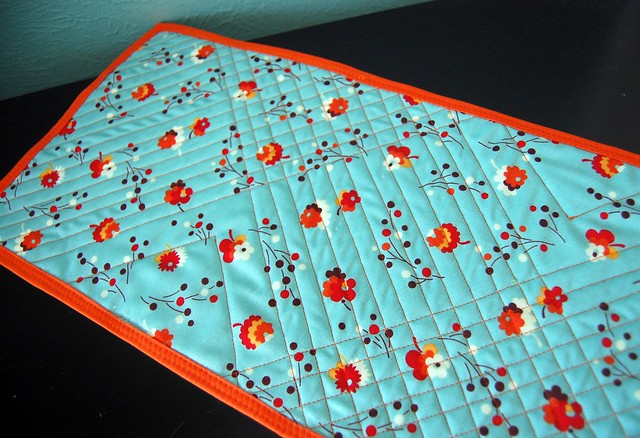
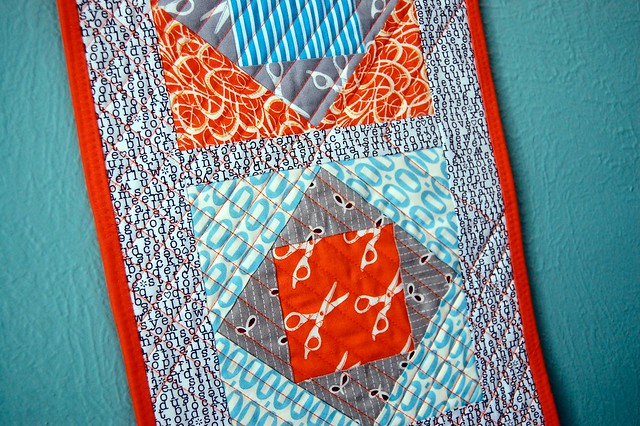
The other night, I finished my mini quilt for the Modernista swap. I am in love.

FO: Modernista Mini

This might be the most proud I've ever been of an FO. Hopefully, my partner will be proud to hang it on her wall. I used Tamiko's paper-piecing template to make three blocks. Fabrics used are from Half Moon Modern, Lizzy House's Hello Pilgrim (the blue stripe), Flea Market Fancy gray seeds, the ever-awesome elephants from Daiwabo, Pezzy Prints, and Anthology orange orbs. Using a text print (that I can't identify at the moment-anyone know the name of it?), I pieced together a top.

The back

It's backed with another Flea Market Fancy print, and I quilted a fun pattern using orange Gutermann thread.

Details

The quilting is my favorite part. It's bound in an orange solid (tangerine, I think!).

I'll be sending this, along with the pincushion organizer to my partner very soon.

ETA: Dan helped determine that the text print to be Tiny Type from Michele D'Amore's Word Play collection for Benartex. Thanks, Dan!

Thursday, July 12, 2012

FO: Haven's Edge Wiksten

It happens to all of us. You finish something, and then a month later, you realize you still haven't taken a proper photo or shared it with your friends.

You may remember my first finished Wiksten tank, which I love on the hanger, but it's not very flattering to wear. That makes me sad, but it's flattening in some places and widening in others. I haven't given up on it yet, but this is why you haven't seen a modeled shot.

Shortly after I finished the first, though, I cut into some Tina Given's voile from her Haven's Edge collection.

I'm happier than I look in this photo. Promise.

This version fits much better. It drapes, it's flattering, and so comfortable. I'm glad I had the foresight to make sure those shapes were vertical rather than horizontal, or this one might be in that same widening category. I intend to give this pattern another go, and I'd like to add sleeves like this awesome version.

In the photo, you can also see some of the lovely mini quilts I've acquired from friends. From left to right, the Love one is from Tammy, The feather is from Amanda, the super scrappy is from Sara, the green one is from Shapemoth in the FTLOS swap, and the one on the end is from Jessica.

Unrelated (and possibly enabling), but have you seen these Riley Blake Ombre Dots?

Stash Enhancements

I picked up this half yard in Orange (along with a few other stash enhancements, ahem!) from Stash Fabric. I really like the scale of these dots! I may have to acquire a few other colors... Speaking of dots, I'm pretty crazy about the new Tula Pink Birds and the Bees dots, too.

Thursday, May 3, 2012

FO: Echo Postage Stamps

Thanks for all of your well-wishes! I really cannot wait to share wedding pictures with you, and I hope to be doing just that next week (fingers crossed!).

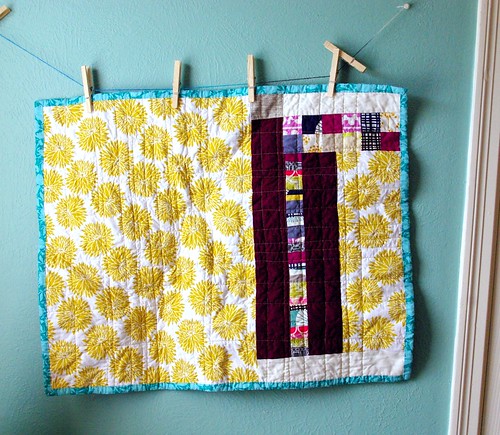
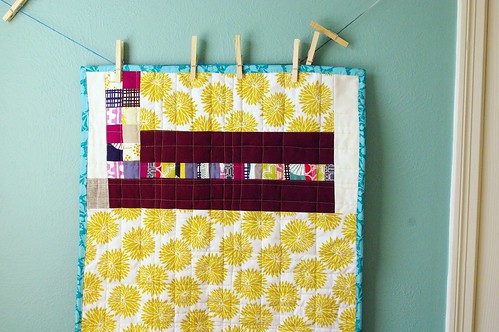
I managed to finish one item from my recent list! Truth be told, the Friday before the wedding, I was quilting this! Not all day, mind you, but I snuck in a couple of hours to work on it. The Sunday after we got back from our honeymoon, I finished quilting and started the binding.

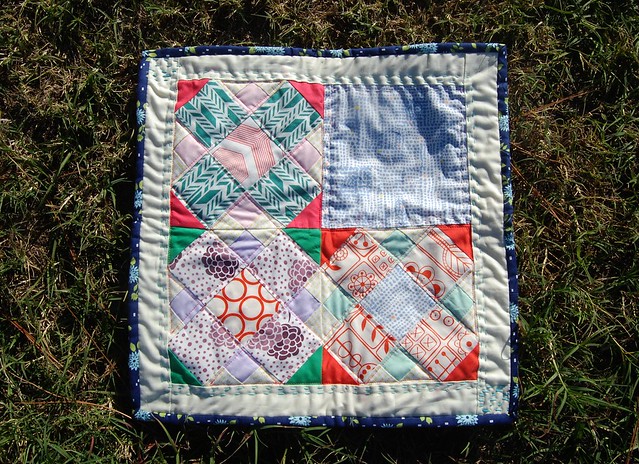
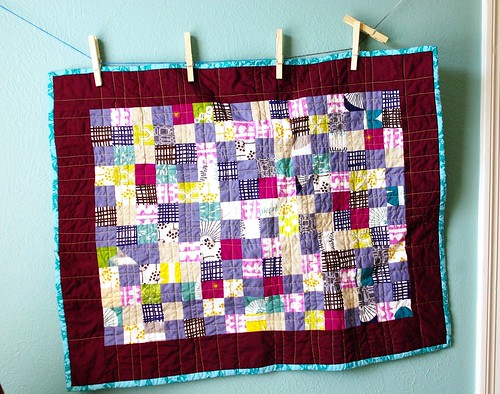
FO: Echo Postage Stamps

A few days later, I have a little finished mini!

It feels good to cross an item off the list, and this mini makes me so happy. Echo is definitely one of my favorite recent lines, and I can't wait for the follow-up, Bella!

FO: Echo Postage Stamps

In addition to Echo squares, I used a few small scraps of other lovely prints and solids. There's a little Modern Meadow, some Suzuko Koseki buttons (!), Essex linen, Kona Slate, and a few others. I bordered with a burgundy Kona (not sure of the exact color, but I can check if anyone is curious).

FO: Echo Postage Stamps

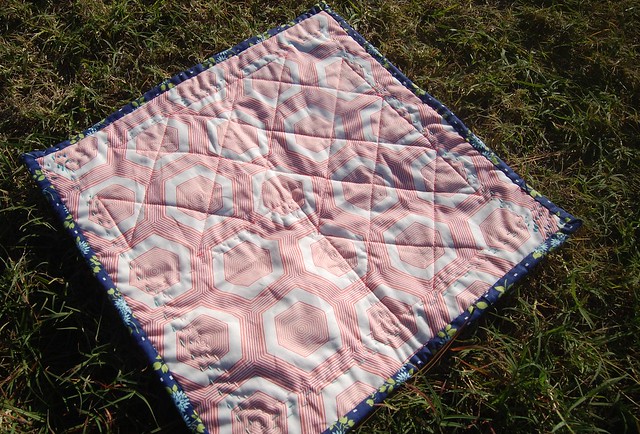
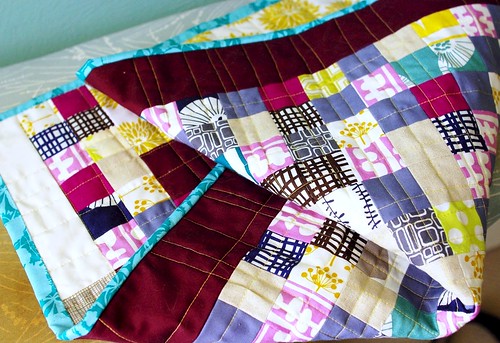
I might love the back just as much as the front! If I do, I'm sure it's due to those lovely Anthology yellow flowers. I love that print! I used some leftover odds and ends to complete the back.

FO: Echo Postage Stamps

This is quilted in yellow again with random lines, and I bound with another Anthology print, from Bryant Park.

It feels so good to be sewing after a short break! I'm off to a retreat with my guildmates this weekend; I'm sure we'll have fun!

FO: Echo Postage Stamps

Have a great weekend, my friends!

Related Posts with Thumbnails